Custom made packing desk
- Liz Constable

- Aug 21, 2022
- 2 min read
We were so busy and got stuck in I forgot to take photos from the start! But we effectively created a kit set to put together, based on the measurements I'd made of where I wanted it to go. We cut the wood to length, planned biscuited together. her. er. r. .
The first thing I realised was, unless I created a proper packing table I'd just end up running out of space. I knew exactly who to turn to for help:
my woodworking teacher, affectionately known as Mr G.

We were so busy and got stuck in I forgot to take photos from the start! But we effectively created a kit set to put together, based on the measurements I'd made of where I wanted it to go. We cut the wood to length, planed it then biscuited it together.

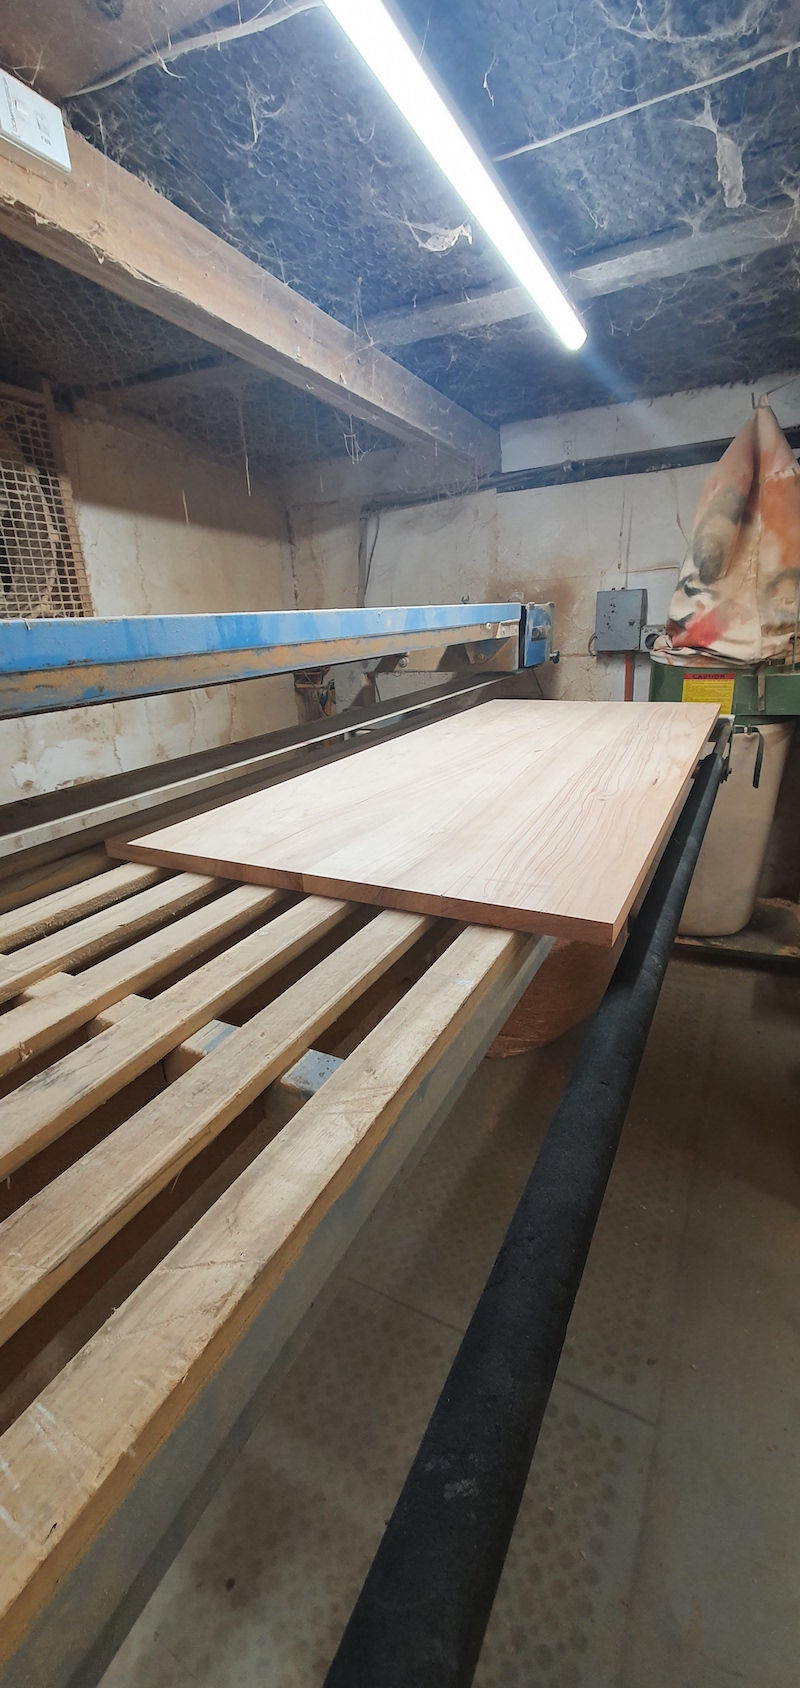
I love how the big sander brings up the wood saving you hours of hand sanding!

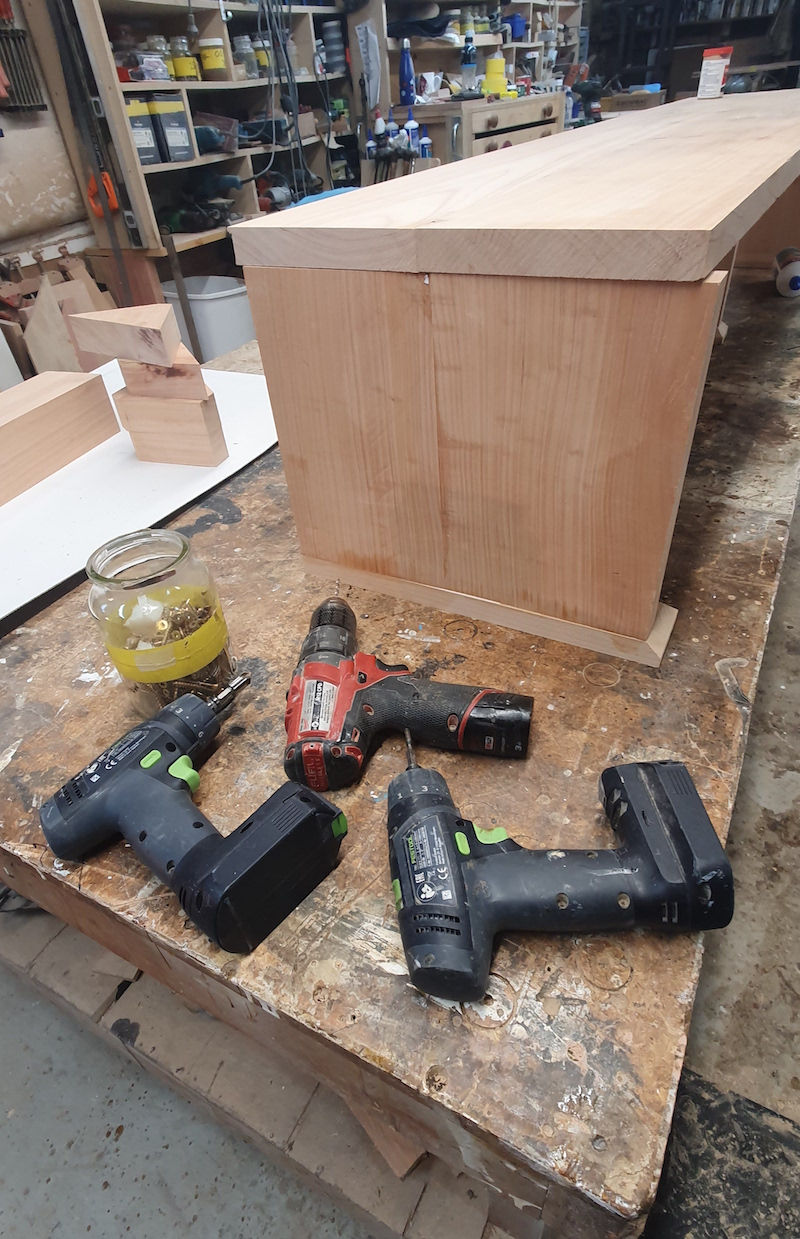
Here is is upside down glued and screwed. What I love especially about custom made furniture, is getting to choose how many shelves you want and the depth of them.

Polishing really takes the wood to the next level.

A girl can never have enough drills in my opinion!

I decided to create a small shelf to sit on top of the packing shelf, for my printers.

Almost installed....I won't pretend it wasn't a mission getting it in the room.
One side had to be dismantled due to someone (me)
not accounting for certain details when measuring!

Hard to photograph but this desk has been LIFE changing in how I work in my office.
It's a TREAT to work at and just the right height for me to stand at.
But I realised the little shelf took up too much space so.....

It sits on the desk next to the packing desk.
And has worked out PERFECTLY!
I'm so lucky to belong to A Girls Guide to Woodworking Class with Mr G at the helm.
If you haven't seen the paper drying rack I also made, check it out here.


Beautiful Liz!